How to Create a DAO Using DAO Haus! Best way to Explain
DAO Haus is, as its name suggests, a house of DAOs that let you create DAOS. Through DAOhaus, you can either create your own DAO or join a selection of established DAOs. Keep in mind that if you create your DAO through DAO Haus, it will be a Moloch DAO.

For those unfamiliar, Moloch is an open source and simple-to-use DAO framework best known for its “ragequit” feature (discussed above), which lets members exit the DAO and receive their share of the treasury’s assets whenever they want. Moloch DAOs don’t have much code and are therefore considered secure as well as easy modify according to your specific needs.
All Moloch DAOs share four key characteristics; permissioned membership, which means the DAOs members vote in all new members; weighted voting, which gives each member varying voting power; non-transferable governance power, which prevents voting and economic rights being sold or liquidated; and ragequit, allowing each member to quit the DAO in exchange for a proportional amount of the DAO’s assets.
Plenty of popular DAOs use the Moloch framework. MetaCartel, an investment DAO aiming to establish a “cartel” of creators for the metaverse and Web3 ecosystem, uses the Moloch framework with great success.
To reiterate, the reason you need to understand Moloch is that all DAOhaus DAOs are Moloch DAOs; if you feel that the Moloch framework would be unsuitable for creating your DAO, then you would be best served by building your DAO through a different framework or platform, like Aragon.
But if a Moloch DAO suits your purposes, follow the steps below to create your DAO.
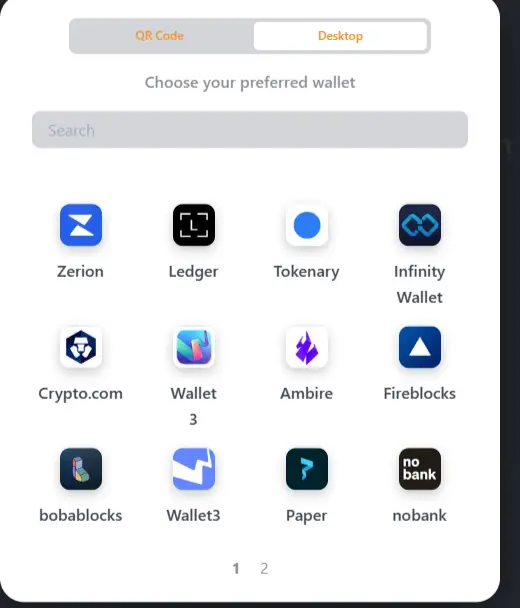
Open your Web3 wallet and choose the network on which you want to launch your DAO. Most DAOs are built on Ethereum, but other networks like Polygon and Arbitrum can host DAOs as well.
2. Go to https://app.daohaus.club/summon
Read through the options available and choose which type of DAO you want to build. When you click through the various options you will see how the DAO’s framework changes. Club DAOs, for instance, allow for one new proposal every minute, whereas Venture DAOs only grant one new proposal per day. If you want to choose entirely unique settings, click the orange “Hard Mode” button. Remember: these settings cannot be changed after your DAO goes live.
4. Double check your settings, then click “Summon.” If you want to launch your DAO with multiple members right away, click “Add Multiple Summoners,” which will save you voting in all of your founding members after your DAO goes live.
5. DAOhaus will prompt you to sign a transaction through your Web3 wallet, which will require you to pay fees of varying amounts depending on which network you launch on.
6. Once your transaction goes through, head over to the DAOhaus Hub to register the metadata and officially launch your DAO. This guide is SHORT, but POWERFUL,